If you’re keen to explore the Injective ecosystem and want to use your MetaMask wallet for seamless access, you’re in the right place. Injective’s EVM-compatible network lets you interact with dApps, trade assets, and manage INJ tokens all within the familiar MetaMask interface. The process is straightforward, but there are a few key details you’ll need to get right. Let’s break down exactly how to add Injective to MetaMask so you can start exploring its DeFi universe with confidence.
Why Add Injective to MetaMask?
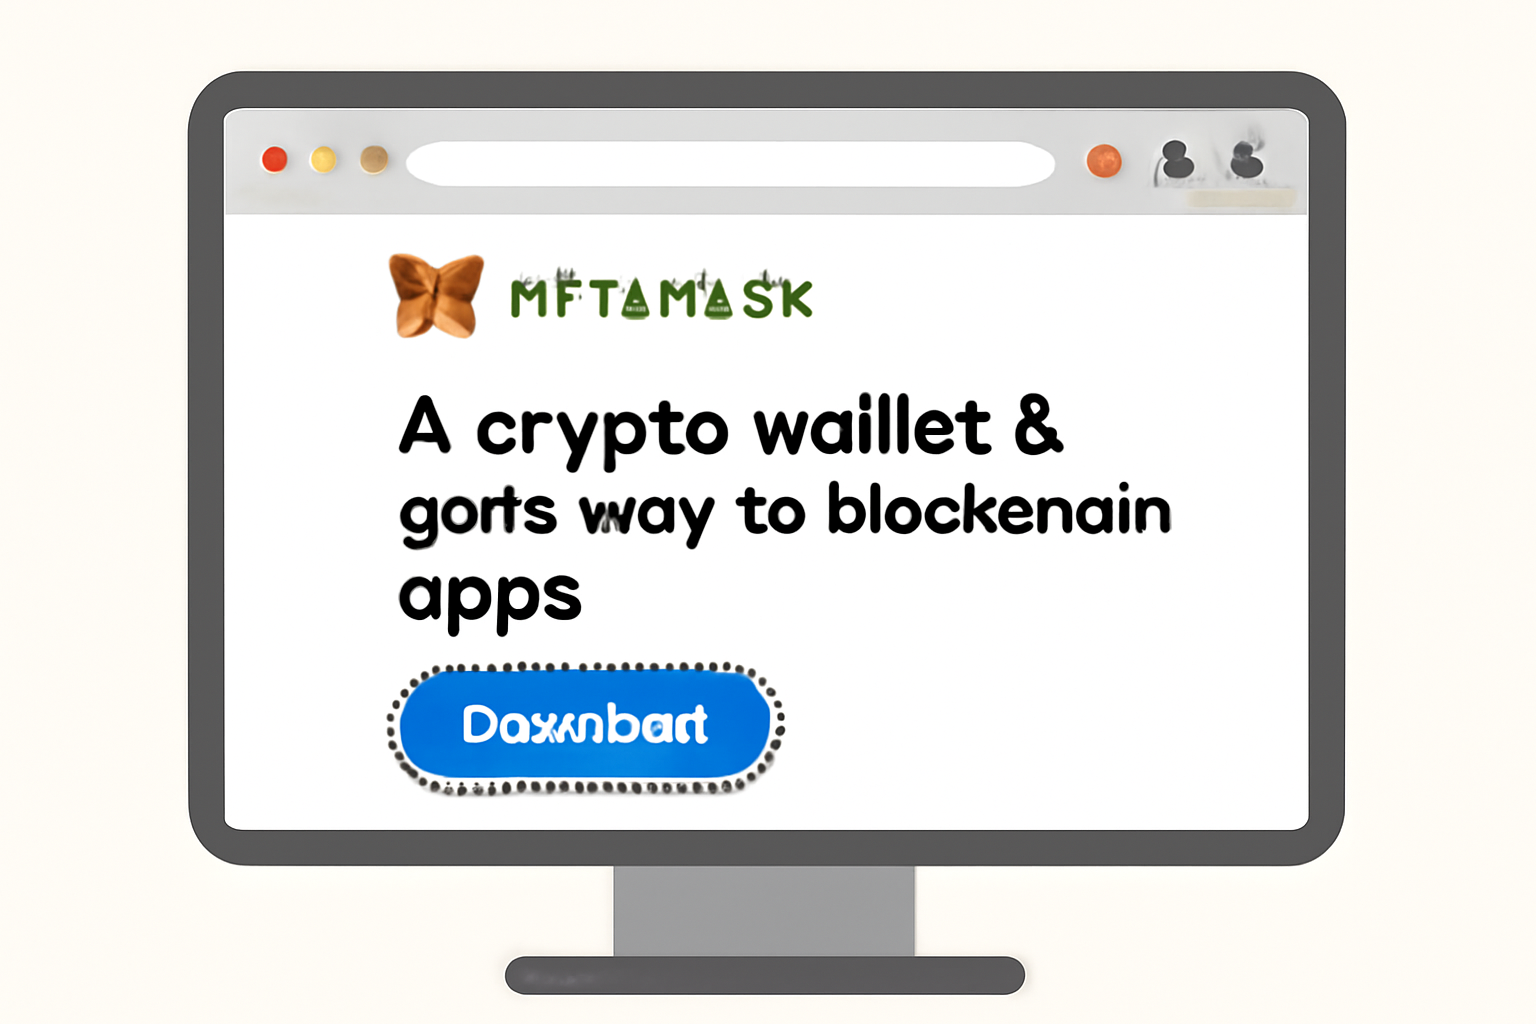
MetaMask is the go-to wallet for millions of crypto users because it’s easy to use and supports a wide range of EVM networks. By adding Injective, you unlock direct access to its blazing-fast trading infrastructure and innovative dApps - all without switching wallets. The native INJ token powers transactions and governance on Injective, so having it in your MetaMask means you’re ready for anything from swaps to staking.
Another big plus? You can toggle between Ethereum, BNB Chain, Polygon, and now Injective with just a couple of clicks. That flexibility is why experienced traders and DeFi enthusiasts are increasingly connecting their MetaMask wallets to new chains like Injective.
What You’ll Need Before You Start
- The latest version of MetaMask installed as a browser extension (Chrome, Firefox, Brave or Edge).
- Your wallet set up - either newly created or imported using your seed phrase.
- The official Injective network details handy (we’ll provide these below so you don’t have to hunt them down).
If this is your first time adding a custom network in MetaMask, don’t worry - it’s easier than it sounds. You won’t need any coding skills or special tools. Just follow along step by step.
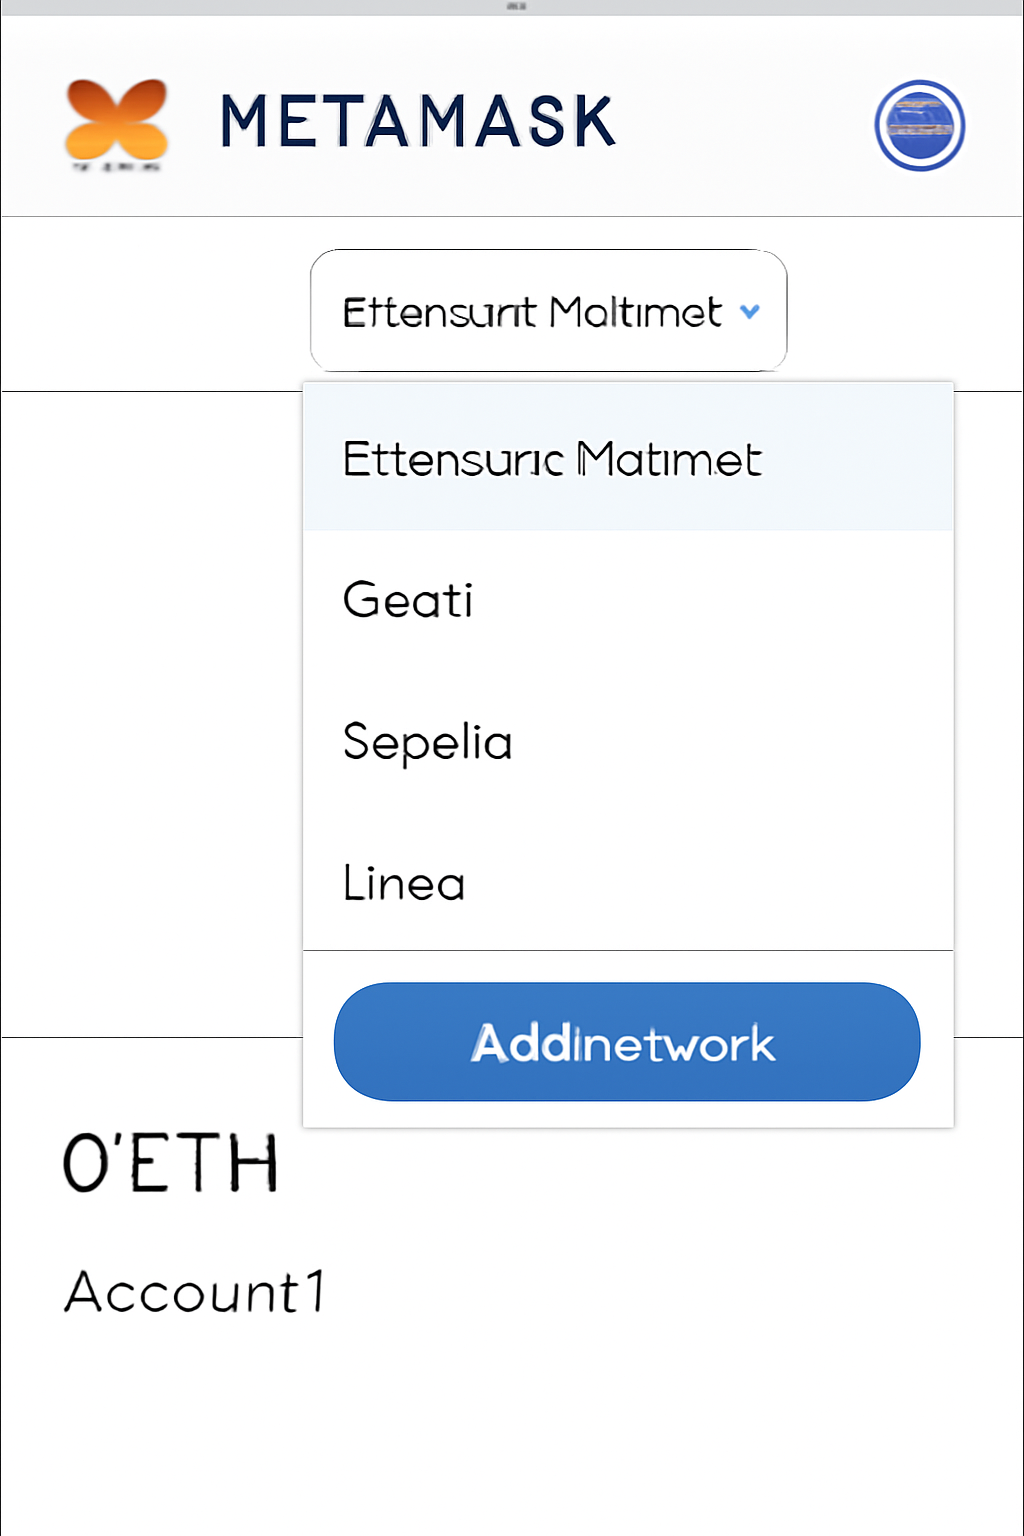
Step-by-Step: Adding the Injective Network to MetaMask
This guide uses the official mainnet settings, so double-check every field as you go:
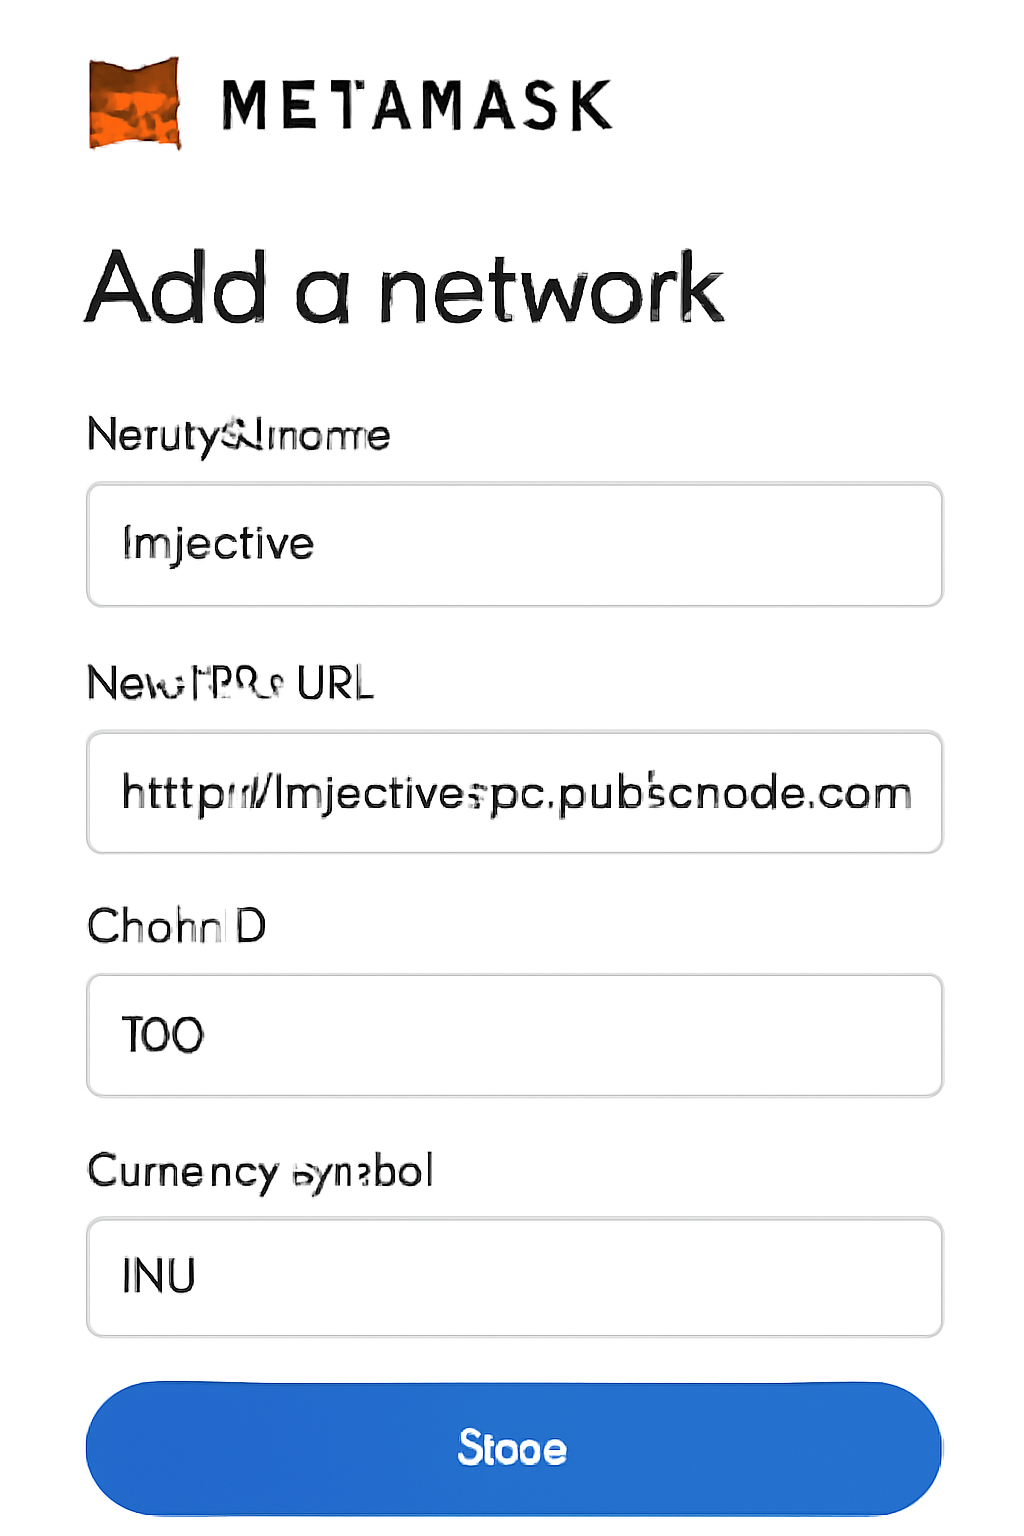
How to Add the Injective Network to MetaMask: A Visual Step-by-Step Guide

Pro tip: If you ever see an option like “Add via ChainList, ” feel free to use it - but manual setup ensures you’re always connecting to the correct RPC endpoint and explorer.
- Network Name: Injective
- Chain ID: 1776
- RPC URL: https://evm-rpc.injective.network
- Currency Symbol: INJ
- Block Explorer URL: https://explorer.injective.network
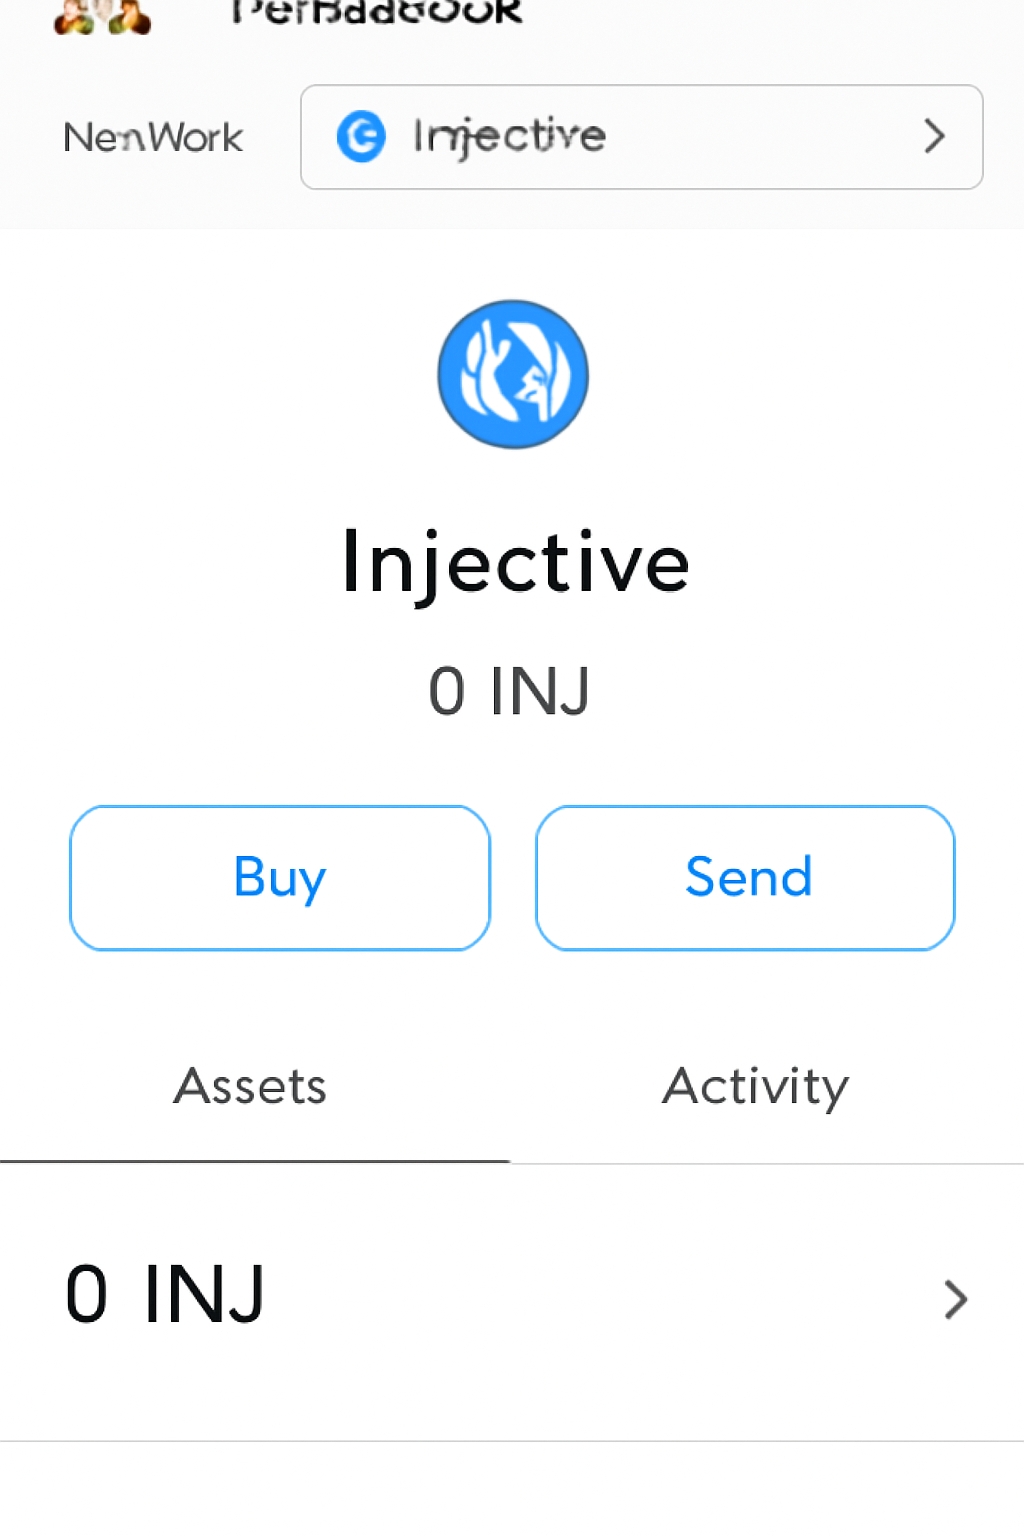
This configuration gets your wallet talking directly with the real Injective mainnet - not a testnet or imposter chain. Once saved, “Injective” will appear in your network dropdown right alongside Ethereum Mainnet and any other chains you’ve added previously.


No comments yet. Be the first to share your thoughts!